8.20.2011

Wired & wrapped


How many times have you seen something in a magazine or catalog and thought,"I can do that!"  How many of you go beyond thinking and actually do it...

I remember seeing jars wrapped with chicken wire and thought to myself just that same thing....I can do that...and finally, I did...

Over the last several months, I've saved lots of straight-sided jars - from salsa, from olives, from pickles.  I figured that straight-sided jars would be easier to work with since there would be no curves with which to contend.  After I amassed quite a few, I went to work...


I had a small roll of chicken wire...most likely picked up at a yard sale...perfect patina - it had lost that bright gleam of new wire.  I started with a length of wire that I wrapped around a jar to get a rough estimate of the circumference.  I also rounded up my lineman's pliers and my needle-nose pliers (two of my favorite tools)...I knew they would both come in handy...


I started by snipping off the rough edges of the wire mesh (with the needle-nose pliers) so that everything was even and straight.


here's the completed length of wire - all ready to be wrapped around the jar...
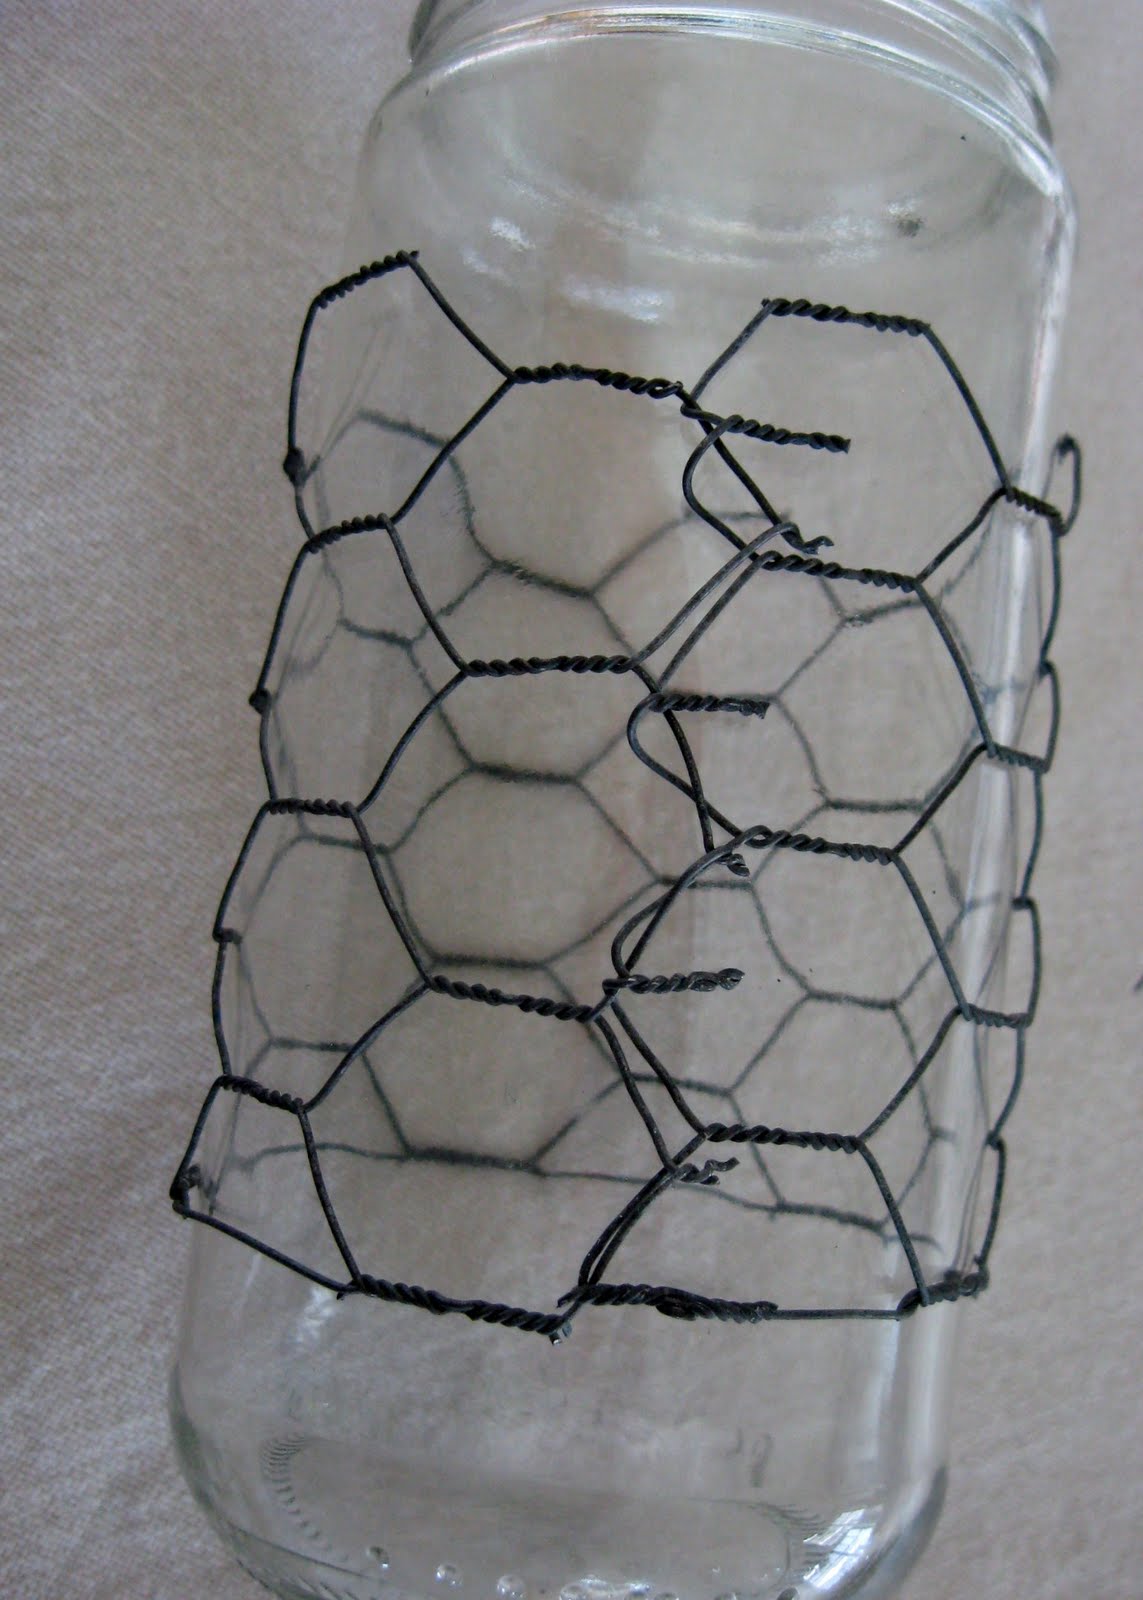


After I wrapped the wire around the jar, I just bent back the overlapping wire strands and neatly twisted them in place to ensure a snug fit and to make sure no sharp stray strands were sticking out.


After using up all of the chicken wire, I still had naked jars...so I looked around...I still had some of the flexible aluminum corrugated metal that I used for my funky crowns...With my kitchen shears, a hole punch and a roll of jute twine, I was back in business.


I "corseted" each jar with a wrap of metal secured with twine...and then wrapped additional twine around the rim of the jar...the twine stayed in place thanks to the screw ridges.


I filled some jars with sand and a votive candle...another with flowers...
some of them I hung on a rusty tire display...
What I love about this project is that it didn't take any expensive materials or elaborate instructions...just a bit of ingenuity...eco-living at its best...
I'm linking up to Funky Junk Interior's Saturday Nite Special...Donna sponsors a great weekly link-up, oozing with creative ideas...lots of inspiration for eco-living!

8.19.2011

Birds of a feather

Its almost showtime...which means that me and 75+ other artists will be converging on the Everett Marina this weekend for Fresh Paint Festival of Artists at Work!
Today I'm sharing the last teaser of new art collages I will have at my booth.  I showed the initial groundwork with this series in this post...here are two of the completed collages...


Want to see the other three collages of the series...you'll have to visit me at the show -
Booth 13 - hope to see you there!

8.17.2011

An artist's tools

As is the case with most artists, you create what speaks to you... I have an affinity for the most basic of artist tools - a pencil, a paintbrush, a pair of scissors.  And of course, if they are old, used and well-loved, all the better! 

I created a series of multi-media collages for my Fresh Paint show that use old book covers for the collage foundation...the marbelized paper was so beautiful with just a hint of the leather binding on the edges. 
These three collages pay homage to artist tools ...


Select original collages will be for sale at my etsy shop after the Fresh Paint show...available after August 23...and don't forget - free shipping for the month of August....just input 811FREESHIP at the end of your order.

8.15.2011

Anatomy of a collage

The creative process can be a fickle friend...some days you can't get enough done to quiet the idea buzz in your head...other days, its all too silent.  I thought I would share with you how my latest crop of collages came to be...

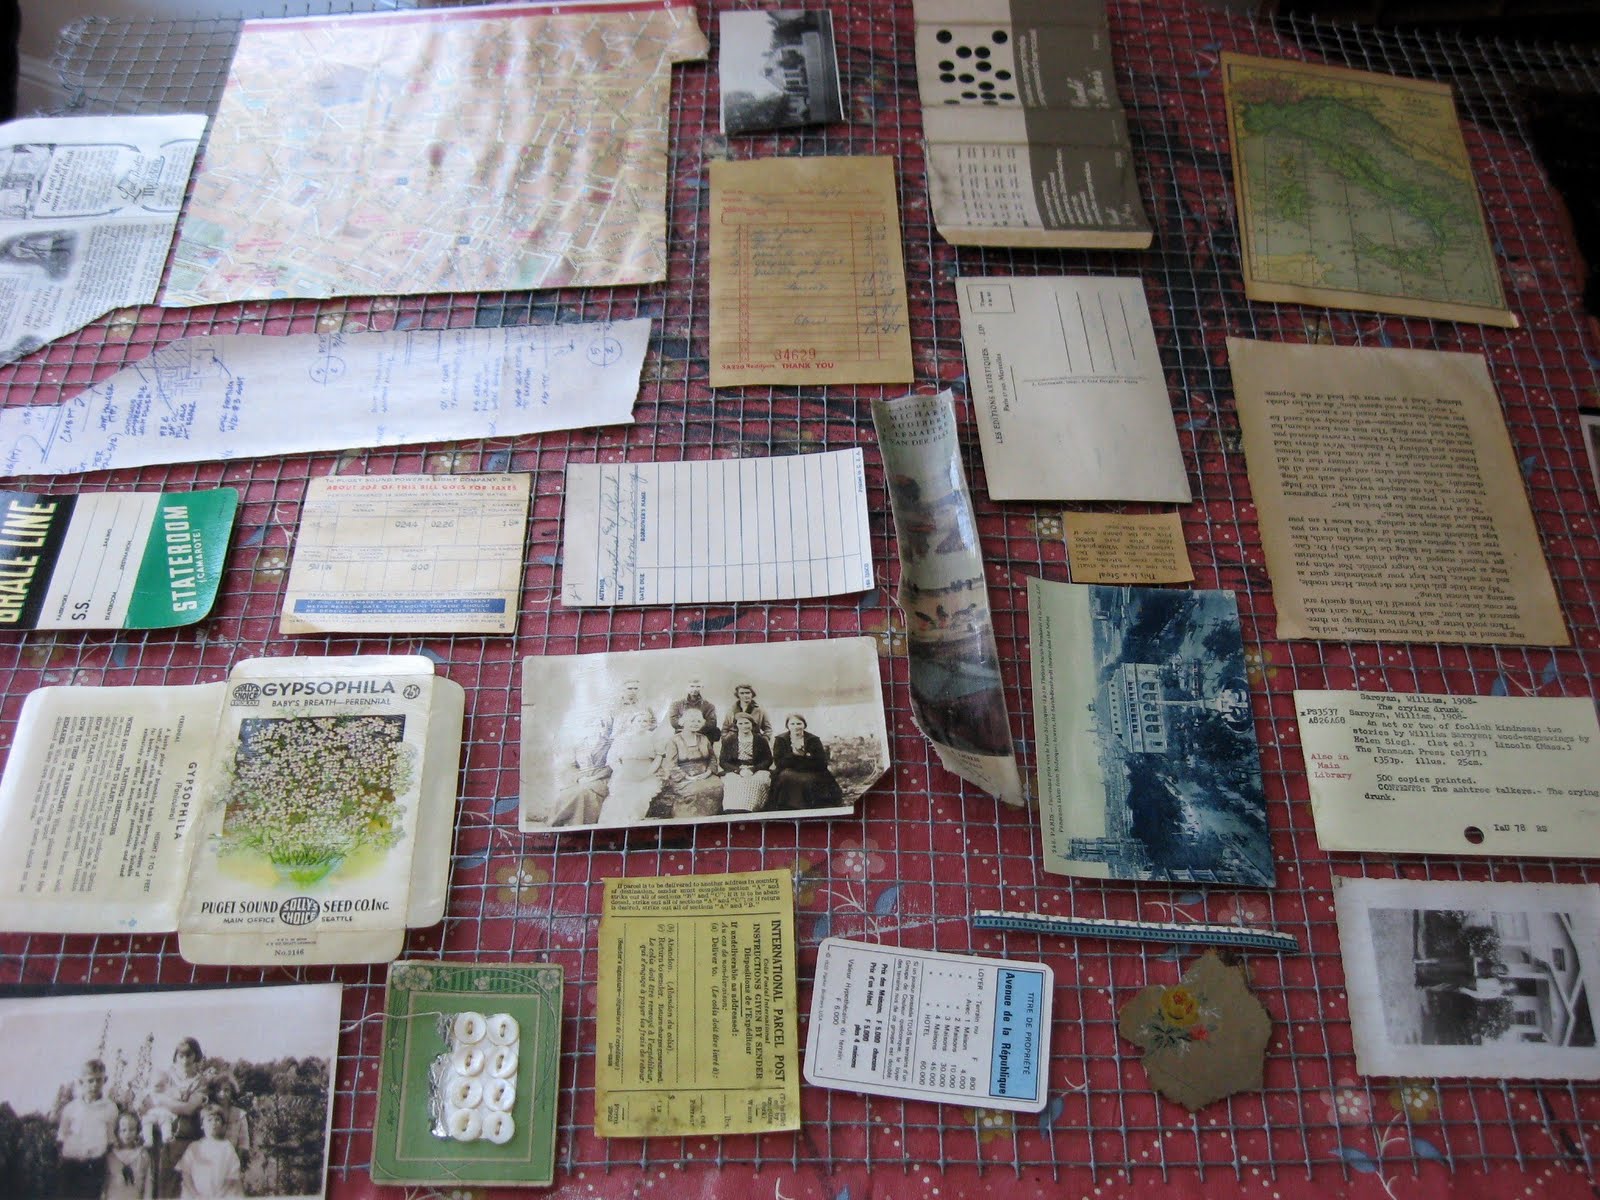
I start by looking through my piles of scrap and see what jumps out...as I mentioned in my previous post, I have a huge hoard of old photos to start the process...I pulled out the ones that were telling a story (perhaps one that I could only hear!) and then made piles of scraps & tidbits for each photo.  I prepped all of the scraps, knowing that the editing would come later.


Next, I did a rough composition of each collage, whittling down the scraps and choosing a color palette.  For this latest series of collages, I used 1x10x6 pine boards, cut down into smaller sizes of approximately 10" x 10".  I like using inexpensive materials for my base...with a solid wood foundation, I can hammer/screw into the wood to attach my found objects and the thickness of the board gives a nice finished edge when painted.

Here's the progression of two different collages...


I left a part of the pine board unpainted so that you could see the grain...thought it fit nicely with the theme.  I found a companion photo to my original choice...gives a more cohesive flow with the matching pair.


It's hard to tell from my photo, but the three circles on the upper right side are three small lightbulbs from the stash I recently picked up...the red type came from a solicitation envelope that arrived in the mail...you never know where inspiration will be found!  You'll notice that the arrangement changed quite a bit from the beginning to the end...the navy blue paint made me rethink the balance...

Both of these (and many more) will be at my booth at Fresh Paint - Festival of Artists ...hope to see you there!

8.12.2011

Fresh Paint Preview

If you live anywhere in the Puget Sound area, you really should mark Fresh Paint Art Festival on your calendar...its a wonderful outdoor art show at the Everett Marina...Saturday & Sunday, August 20 & 21 from 10 am to 5 pm each day.  This is my third year at this show...what I love about it is the interaction with the public...each artist must demonstrate some aspect of their work as a condition of being in the show.  I sponsor a "Make Your Own Collage" table where individuals can make mini-collages with cardboard, scrap paper and glue...demonstrating that it doesn't take fancy supplies, expensive tools or an art background to be creative - you just have to jump in and do it!

Starting today, I'll be previewing some of the new work I will have at my booth...I'm at Booth 13 along the marina promenade...stop by and say hello...and make a collage!
"Voyage to Italy"   2011


My inspiration for these collages was a huge boxful of old photos from a friend of the Southern Man...she thought they were family photos, but she recognizes no one in any of the pics...so she gave them to me, thinking I could make use of them...
"La Bonne Vie"  2011

As I mentioned, I'll be posting new work up until the show on Saturday August 20.  If you can't make it to the show and see something you must have, email me - we'll work something out!

8.10.2011

Thoughtfulness

My young friend Anna returned from her semester abroad in Perth, Australia in late June...I finally had a chance to catch up with her (and her mom, my friend Sue) last week...sharing her photos and more details of her excursions...I highlighted her blog back in February - it was her journal of her life down under...truly, I learned more about Australia than I ever knew from reading her blog!

She brought me two presents - a vintage book on Australian gardening and a large shell from the beach...
The book is wonderful with its gorgeous type, beautiful illustrations and well-worn pages...
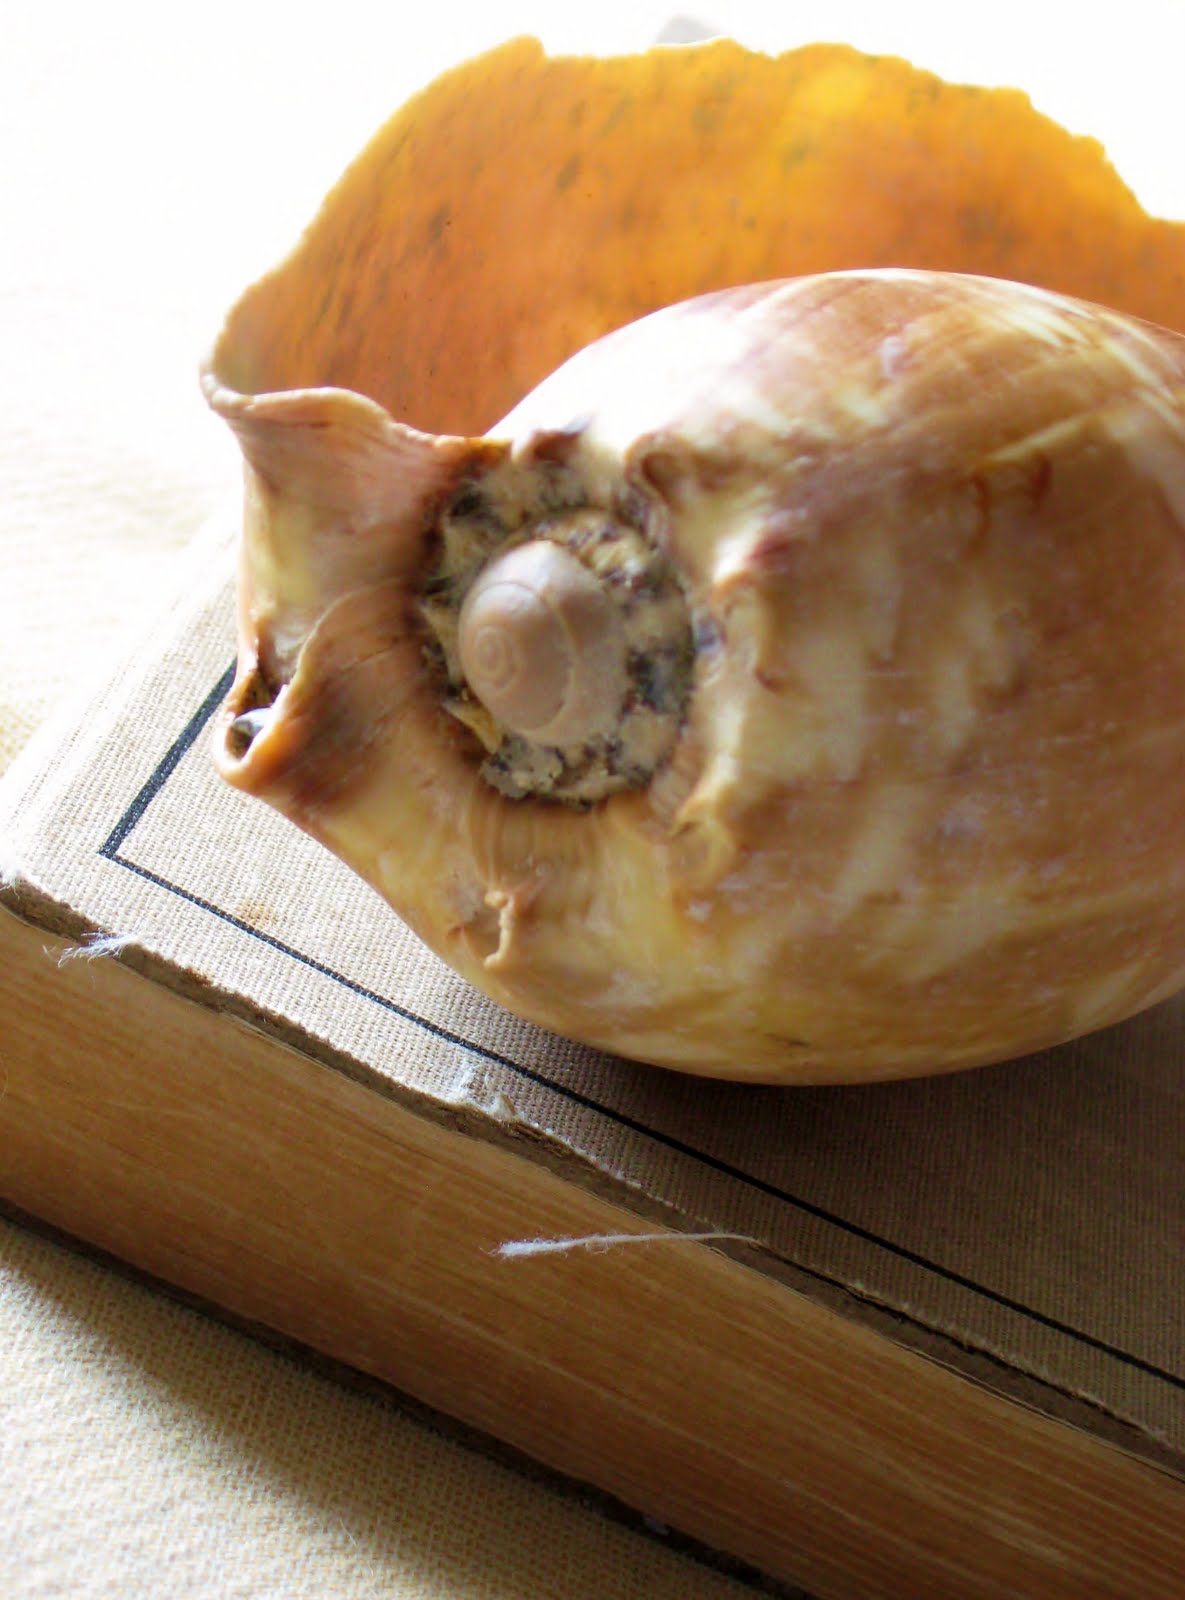
but it was the shell I swooned over...
I believe it is a conch shell...the colors & hues are exquisite...I tried to capture the detail but the photos don't do it justice.  I have known Anna all of her life and obviously I have made an impression...she brought me back the perfect present...it has a place of pride among my vintage clocks, old books and gnarled twig balls.  Proof positive that the best gifts can not be bought...they are from the heart.